Acoustic Putty Pads for Power Sockets are an essential addition to any soundproofing project, designed to seal gaps around electrical socket boxes and maintain the acoustic and fire integrity of walls. These versatile, non-hardening putty pads effectively reduce sound transmission, prevent air leakage, and provide fire resistance for up to 90 minutes. Whether for residential or commercial applications, Acoustic Putty Pads are a simple, cost-effective solution for enhancing wall soundproofing and safety.
What is Acoustic Soundproofing Putty?
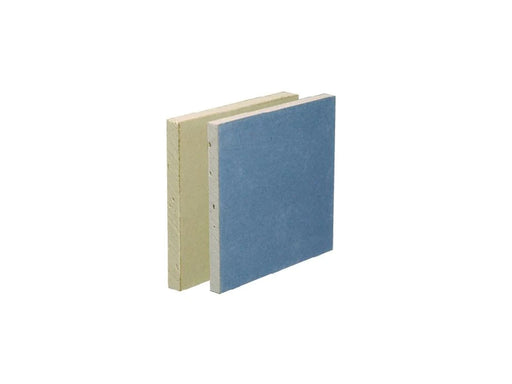
Acoustic Soundproofing Putty is a specially formulated, silicone-based intumescent sealant designed to maintain the soundproofing and fire resistance of plasterboard walls. Often referred to as Intumescent Box Liners, this pliable material is applied around electrical socket boxes or other penetrations in drywall to seal gaps that could compromise acoustic and fire performance. Certified with CE/UKCA marks, Acoustic Putty meets rigorous safety and acoustic standards, ensuring compliance with UK Building Regulations.
How do Acoustic Putty Pads Work?
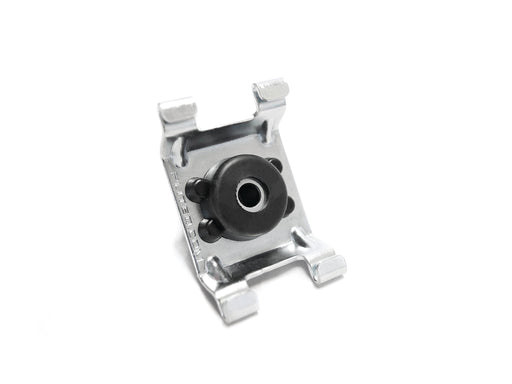
Acoustic Putty Pads work by creating a flexible, airtight seal around electrical socket boxes or other penetrations in drywall. This seal prevents sound from passing through gaps, maintaining the acoustic integrity of the wall. In the event of a fire, the intumescent properties of the putty cause it to expand, filling the void left by burned-out materials and blocking the spread of fire and smoke. The non-hardening nature of the putty ensures a snug, long-lasting fit that adapts to surface changes over time.
How Effective are Acoustic Putty Pads for Power Sockets?
Acoustic Putty Pads are highly effective, reducing noise transfer and maintaining wall soundproofing to within 1dB of an unbroken wall. Independent acoustic tests have shown performance ratings of up to 69dB Rw, making them an excellent choice for sound insulation in homes, offices, and commercial buildings. Additionally, the pads provide up to 90 minutes of fire resistance in compliant drywall constructions, ensuring both acoustic and safety standards are upheld.
Where Can the Acoustic Putty Pads Be Used?
Acoustic Putty Pads are suitable for a wide range of applications, including:
-
Electrical Socket Boxes: Single or double socket boxes in walls.
-
Cable Penetrations: Sealing gaps around cables in drywall.
-
Pipe Penetrations: Preventing sound and fire transfer around pipes.
-
Residential and Commercial Properties: Ideal for homes, offices, and public buildings where soundproofing and fire safety are critical.
They are particularly useful in partitions where electrical boxes penetrate the wall, helping to reduce room-to-room noise transfer while enhancing fire resistance.
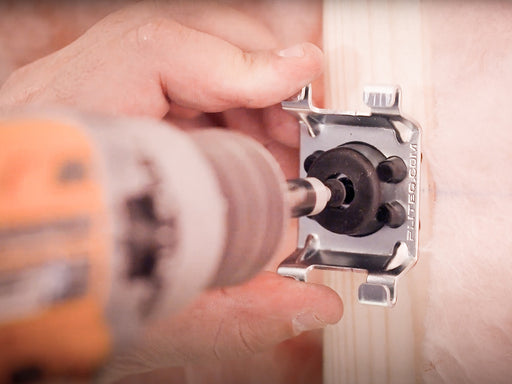
How to Install the Acoustic Putty Pads
-
Prepare the Area: Remove the faceplate from the electrical socket box and ensure the area is clean and free of debris.
-
Apply the Putty Pad:
-
For pre-formed pads, mould the putty into the back of the socket box and around the cables.
-
Ensure the putty covers all gaps and penetrations completely.
-
Reattach the Faceplate: Secure the faceplate over the socket box, ensuring the putty remains in place.
-
Inspect the Installation: Check for any uncovered gaps and adjust the putty if necessary.
The process is quick and requires no special tools, making it ideal for both professionals and DIY installers.
What Are the Benefits of Using the Acoustic Putty Pads for Power Sockets?
-
Superior Noise Reduction: Seals gaps around sockets to maintain acoustic integrity and reduce noise transfer.
-
Fire Resistance: Provides up to 90 minutes of fire protection, preventing the spread of flames and smoke.
-
Easy Installation: Self-adhesive and pliable, requiring no additional tools for application.
-
Long-Lasting Durability: Non-hardening material remains flexible over time, ensuring a tight seal.
-
Moisture Resistant: Suitable for wet rooms and high-humidity environments.
-
Environmentally Friendly: Free from solvents and safe for both users and the environment.
-
Energy Efficiency: Reduces air leakage, contributing to lower energy costs and carbon emissions.
Installing Acoustic Putty
Installing Acoustic Putty is a straightforward process that ensures optimal soundproofing and fire resistance:
- Preparation: Ensure the surface is clean and free from dust and debris.
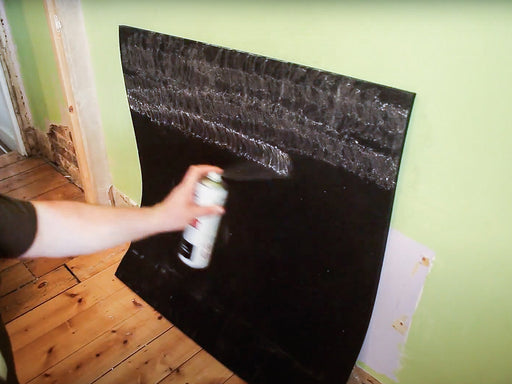
- Application: Cut the putty pad to the required size if necessary. Remove the backing paper and press the pad firmly into place around the electrical socket box or other penetrations.
- Sealing: Mould the putty to fit snugly around the box, ensuring all gaps are sealed. The putty's self-adhesive nature helps it stay in place without the need for additional tools.
- Final Check: Inspect the installation to ensure a tight, uniform fit. Adjust as necessary to cover any remaining gaps.
By following these steps, you can effectively reduce sound transmission and enhance the fire resistance of your walls, ensuring a safer and quieter environment.
Visit our Fitting Instructions section for more detailed instructions relating to your specific application.
Check out our Soundproofing Guides for more information, advice and tips on all aspects of soundproofing.